Mr. Darcy and I have finished our save the dates and they will be entering the mail tomorrow. Yeah!!! Let me just tell you how excited I am. This is a huge weight off my shoulders. I am smiling from ear to ear and dancing a little jig. Yeah, I didn’t get them out by 7 month mark like I wanted to, but I am getting them out six months before. So without further ado let me show you. The last step in the process was lining the envelopes.
First, Mr. Darcy measured out a template. Mr. Darcy was an art major in school and is much better at these types of things (drawing straight lines) than I am.
Then Mr. Darcy cut the template. He was such a good helper.
I made sure the template fit into the envelope before we began cutting the liners.
Mr. Darcy used the template to draw guide marks on the back of the scrapbook paper and then cut the paper.
The scrapbook paper I found at Jo Ann’s Fabric Store has I love you written in several languages.
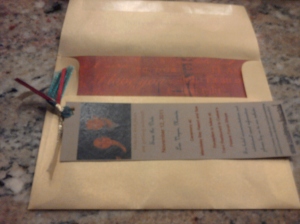
While Mr. Darcy cut the paper, I inserted them into the envelopes. Doesn’t the dark red look lovely with the gold vellum envelopes from Paper Source,
See how pretty the bookmark looks with the envelope. Here is the final product
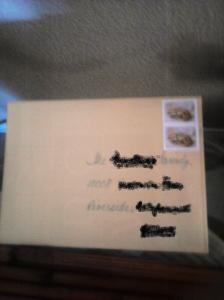
(It pains me to have black out the beautiful handwriting.) Don’t they look beautiful? Mama Austen addressed the envelopes beautifully and the gold wedding band stamps were the perfect touch.
Here is what I learned:
1. Pay careful attention to where you are cutting the paper. Mr. Darcy cut a few of the liners with the bar code on them. The problem is that you can see the bar code through the vellum envelopes. My solution cover it with a small piece of scrap scrapbook paper.
2. Do not glue the liners. I glued the first couple and they turned into a hot mess of wrinkled envelopes. It may have been the glue I used (Scott’s clear liquid glue), but I found the liners were pretty secure in their without the glue.
Were you super excited when you completed your first DIY project?


Cannot wait to get mine!!!!!